¶ Configure CloudPanel Settings
The first thing you need to do after installing CloudPanel is update the database and configure the settings. To do this you need to open a browser that is installed on the SAME server that CloudPanel is and browse to: http://localhost/CloudPanel/admin/setup. If you are using host headers then you may need to temporarily remove the host headers to access this page without having to login (because you can’t login during the first install or after each update)
¶ Login To CloudPanel
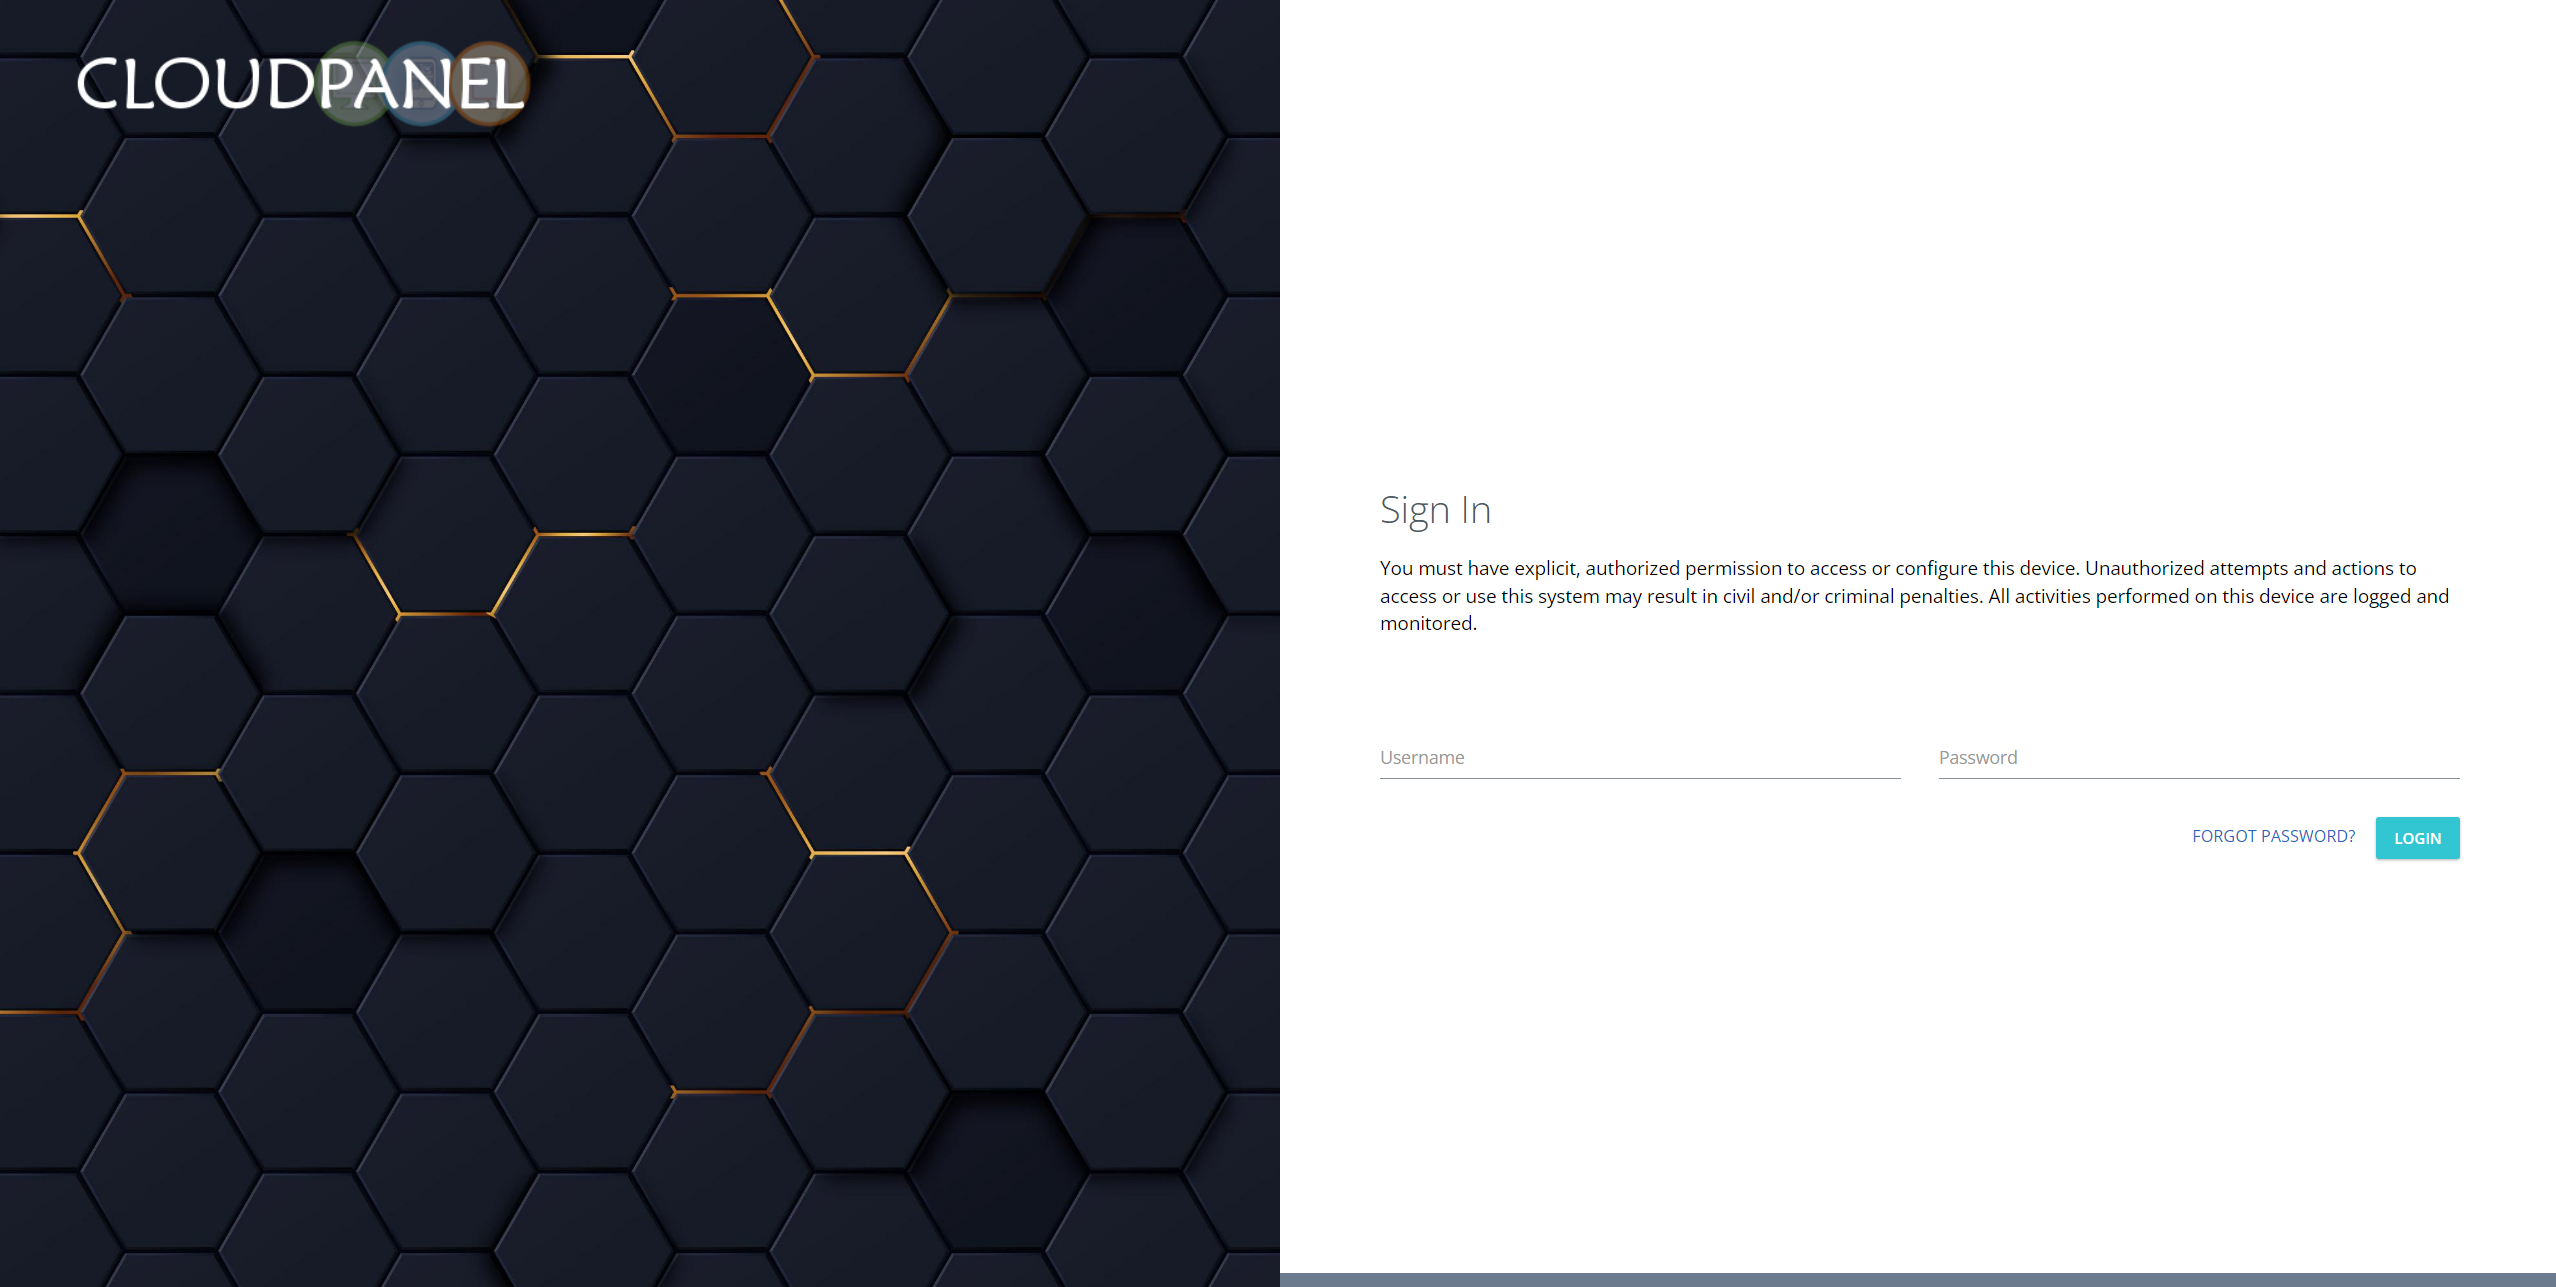
After you configure CloudPanel you are now ready to login. If you are on the settings page click on Dashboard or browse to http://<your url>/cloudpanel to reach the login screen.
To login, you need to use the full UserPrincipalName of user accounts and not their SamAccountName. An example of a SamAccountName would be “superadmin” but the full UserPrincipalName would be “superadmin@lab.local” if your internal Active Directory domain was named “lab.local”
¶ Setup Plans
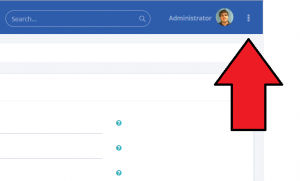
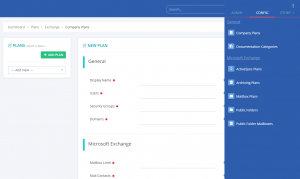
Once you are able to login to CloudPanel, you need to configure a few things before you start creating resellers and companies. The first thing you need to configure is the Company Plans. To access the plans menu you need to click the three vertical icons at the top right and choose the Config section. With company plans you can control how many users, mailboxes, and other objects such as distribution groups and security groups can be created in a company that is assigned the plan. When you create a company you must choose a company plan to assign.
After you configure the company plans, you must start configuring the mailbox plans. Mailbox plans are assigned to each user that you enable a mailbox for and is what assigns the appropriate values such as mailbox size, what features they have enabled, and send/receive limits. Pay close attention to the features because leaving a feature like “MAPI”
 |
 |
¶ Configure Company Plans
CloudPanel uses plans and you assign different plans to different objects in the system. Each type of plan has a different function and is required to work properly.
Company plans are assigned to each company and limit the ability to create a certain amount of objects. These limits are database limits only and do not place any limitations on Exchange or other integration?s within your environment. Every company within CloudPanel must be assigned a company plan.
If a limit is reached you can modify the company’s plan to a new plan with a higher limit or adjust the current plan’s limit.
| Field | Description |
|---|---|
| Name | The display name of the company plan |
| Users | The total amount of users that can be added |
| Security Groups | The amount of security groups that the company can add |
| Domains | Number of domains the company can have |
| Mailboxes | How many Exchange mailboxes can be enabled |
| Contact | Number of mail contacts in Exchange for the company |
| Distribution Groups | Total of distribution groups that can be added |
| Resource Mailboxes | Total number of resource mailboxes that can be added (shared, equipment, room) |
| ActiveSync Plans | Number of unique ActiveSync policies that the company can have |
| Mail-Enabled Public Folders | Total number of public folders that can be mail enabled (currently not in use) |
| Citrix Users | How many users can be enabled for Citrix |
¶ Configure Mailbox Plans
Mailbox plans are assigned to each user and are what contains the values that will be set on the mailboxes when they are enabled or updated. By default mailbox plans are global and available for each company to use. If you wish to lock down a plan so only a single company can access it then you can choose that company from the Company drop down list.
¶ How does the max mailbox size work?
In CloudPanel you have the ability to set the starting size of a mailbox (Prohibit Send and Receive in MB) and a maximum size. This allows you to adjust the user?s size without actually having to change the plan completely.
Example:
- Issue Warning in MB: 3840 [3.75GB]
- Prohibit Send in MB: 4096 [4GB]
- Prohibit Send and Receive in MB: 4096 [4GB]
- Max Mailbox Size in MB: 6144 [6GB]
- Cost: $1.75
- Price: $5.95
- Price per additional gigabyte: $1.00
In this example we enable a mailbox and adjust the slider to 5120 [GB] which is an additional 1024MB from the starting point. CloudPanel will automatically adjust the issue warning in MB and prohibit send in MB on the back-end to 4864MB (adds the same 1024MB) and also adjust the price on the reports by adding $1.00 since 1GB was added.
¶ What happens when I modify a plan that is already assigned to a user?
At this time when you modify the plan it will not propagate down to users that already are assigned the plan. The next time those users are updated or a new user is created with the plan then it will assign the new values you assigned.
¶ Branding
CloudPanel has the ability to setup branding based on the fully qualified domain name that users use to access the web portal. This will allow you to customize the branding on a per reseller basis as long as it has a different FQDN and still has a valid SSL certificate. To get started setting up branding, select the three dots at the upper right corner of the site and choose Branding.
| Field | Required | Description |
| Display Name | True | A unique name to give your branding. This is not displayed anywhere else except for this page |
| FQDN | True | The FQDN that you want to apply the branding to. For example, if you access the website by going to https://controlpanel.mydomain.com/cloudpanel, then the FQDN will be controlpanel.mydomain.com. |
| Phone | True | The phone number of your business for support. This will be displayed on the web portal. |
| Support Email | True | The email address of your business for support. This will be displayed on the web portal. |
| Assigned Reseller | False | This is no longer used. |
The branding section lets you adjust colors of various parts of the site.
¶ Login Screen Customization
Starting with CloudPanel v3.2.0.380, you can now add customize login screen text, change the background and change the view from the default login page.
An example below shows the difference between the “Default” login view and the “Modern” login view
| Default | Modern |
 |
 |